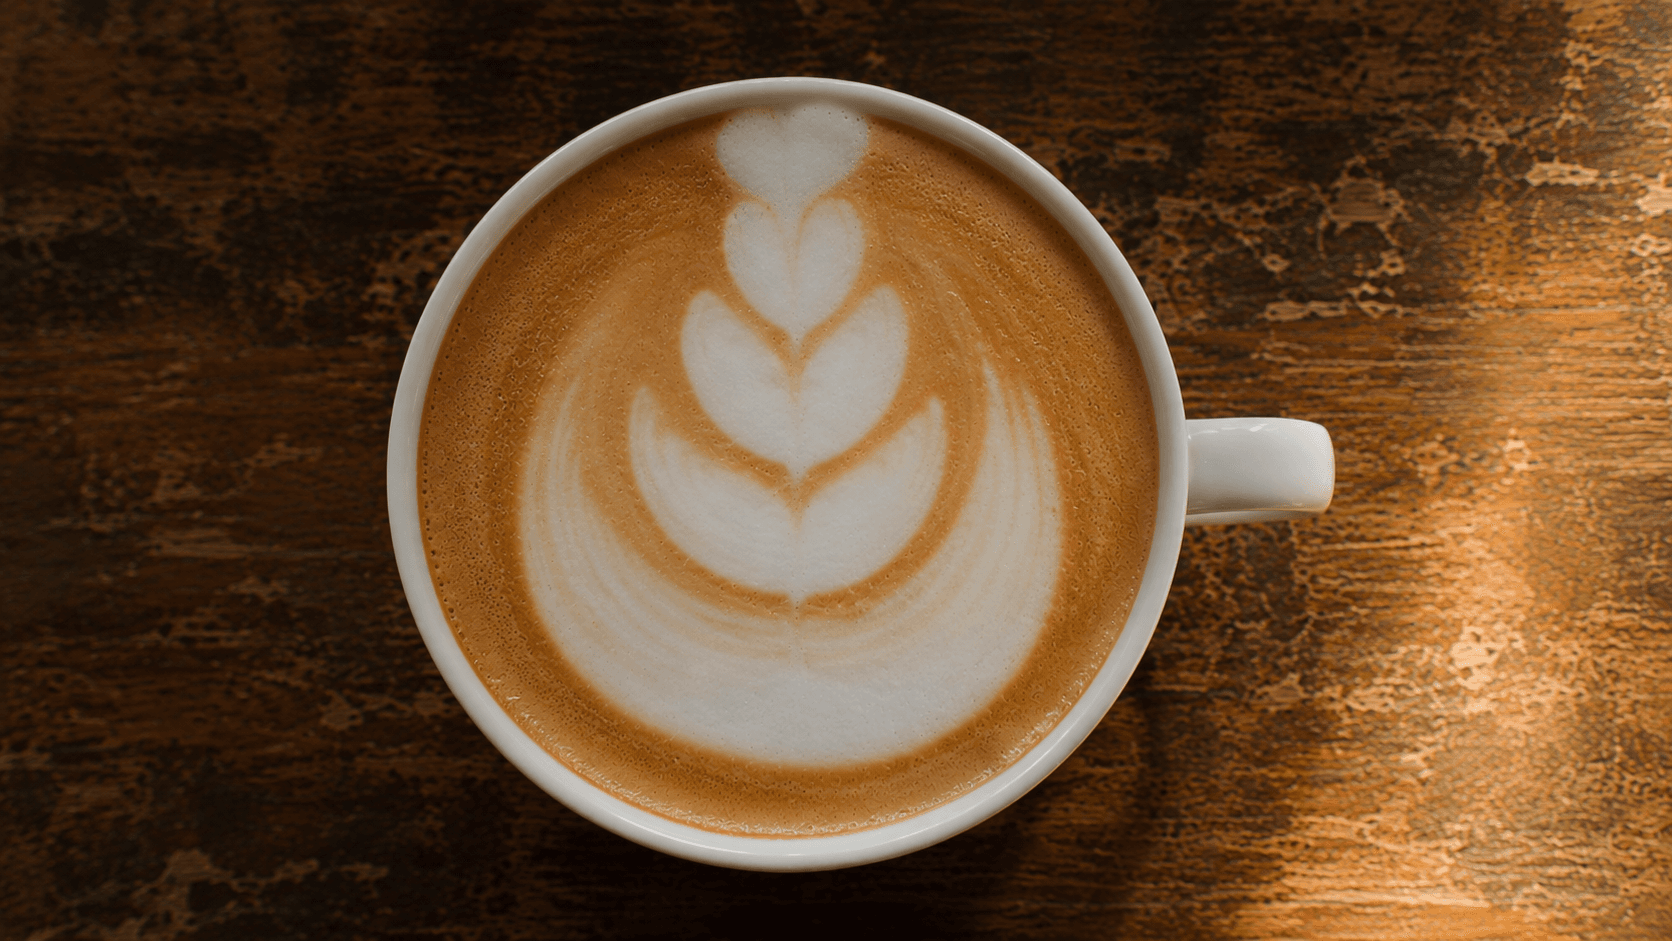
Why Your Latte Art 4-Tulip Doesn't Look Right — And How to Fix It
You've mastered the 3-drop Tulip. The layers are clean, the separation is there, and it's starting to look like something worth photographing. So you try the 4-Tulip — and suddenly everything falls apart. The last drops are cramped, the layers merge, and the whole shape looks compressed.
The 4-Tulip isn't just a Tulip with one extra drop. That fourth drop fundamentally changes the challenge — you have less space, less margin for error, and less room to recover if something goes wrong early. Here's what to look for.
Your Milk Texture Isn't Silky Enough
This is the foundation of every latte art shape, but it matters even more with four drops. Milk that's slightly too stiff or too bubbly will bleed between layers before you finish pouring — and with four drops in a single cup, there's very little time to recover.
The fix: Steam to 60–65°C, aim for that smooth glossy consistency, and swirl before every pour. If your milk looks foamy rather than silky, the 4-Tulip will expose it immediately.
Brew · Brew's contrast score tells you straight away if milk texture is your issue — low contrast between layers means the milk isn't clean enough to hold four distinct drops.

Your Drops Are Overlapping
With three drops, a small overlap is forgivable — the shape can still read as a Tulip. With four drops, there's no margin. Each drop needs its own space, and the gaps between them need to be even more precise.
Most baristas who've mastered the 3-drop Tulip rush into the 4-Tulip with the same tempo — and find that the tighter spacing means drops start merging by the third layer.
The fix: Slow down between drops. Each pause needs to be slightly longer than you're used to, giving each layer a moment to settle before the next one nudges it forward. Keep your pour height consistent — even a small increase in height can cause a drop to sink rather than float on the previous layer.
Brew · Brew's definition score picks up layer separation immediately — if your 4-Tulip looks like a smear rather than four distinct layers, overlapping drops are almost always the cause.

You're Running Out of Space
This is the 4-Tulip's unique challenge — and the one that catches even experienced Tulip pourers off guard. Four drops need more real estate than three, which means your starting position is critical. Start too close to the near edge and you'll run out of cup before the fourth drop, leaving the final layer cramped and compressed against the rim.
The result is a shape that looks great for the first two drops and then suddenly collapses in the final third.
The fix: Start further back than feels natural — closer to the center of the cup than the edge. Map out mentally where all four drops will land before you begin pouring. Each drop should push the previous one forward by roughly the same distance, so consistent spacing from the very first drop is essential.
Brew · Brew's symmetry score reflects starting position errors — a 4-Tulip that's cramped at the bottom or has uneven layer spacing almost always traces back to where the first drop landed.

Four Drops, One Chance — Know Exactly What Went Wrong
The 4-Tulip is unforgiving because mistakes compound. A slightly wrong starting position affects every drop that follows. By the time the fourth drop looks wrong, the problem started with the first. Brew breaks it down for you.
Try Brew free — a pour every day, no card →